How To Install A Pool Safety Fence: A Step-By-Step Guide
Owning a pool can be a dream come true, but ensuring its safety is a top priority. For many pool owners, installing a pool safety fence is a crucial step to preventing accidents and providing peace of mind. A well-designed safety fence can prevent children and pets from accidental falls into the pool, ensuring that the swimming area remains a fun and safe environment. If you're considering adding a safety fence to your pool area, this guide will walk you through everything you need to know, from choosing the right materials and design to installation tips and maintenance advice. By taking these steps, you can enjoy your pool with confidence, knowing it is safely secured for everyone to enjoy.
Overview of Pool Safety Fences
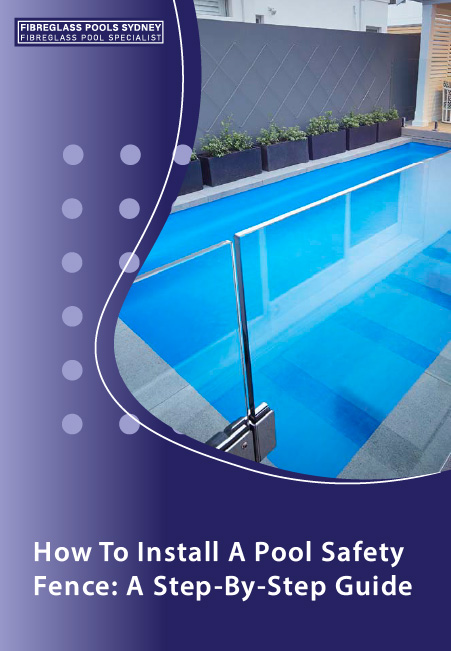
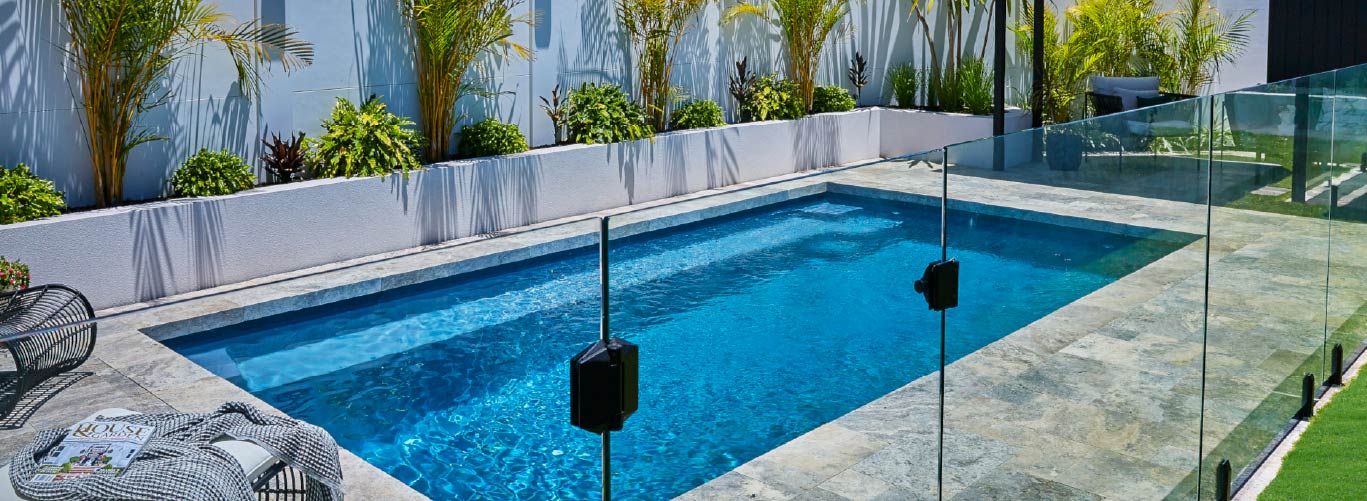
Pool safety fences come in various styles and materials, each offering unique advantages. Common types include mesh, aluminium, glass, and wrought iron. Mesh fences, for example, are popular for their durability and ease of installation, while glass fences provide an unobstructed view of the pool area, enhancing aesthetic appeal.
When selecting a fence, consider factors such as height, material, durability, and ease of maintenance. The goal is to choose a fence that not only meets safety standards but also complements your pool’s design.
Choosing the Right Fence for Your Pool
Selecting the right fence involves more than just picking a style you like. It’s essential to consider local regulations, which often specify minimum height requirements and gate specifications to ensure maximum safety. Additionally, think about the ease of use, especially if you’ll need to remove the fence for any reason.
Consulting with a professional can be beneficial, as they can recommend options that suit your pool’s layout and your safety needs. Remember, the best fence is one that seamlessly integrates into your pool area while providing robust protection.
Pre-Installation Preparation
Before you start digging, there are several preparatory steps to ensure a smooth installation process. Begin by checking local building codes and regulations. Some areas may require permits for pool fence installation, so it’s crucial to be informed beforehand.
After confirming legal requirements, measure the perimeter of your pool to determine the amount of fencing material needed. Mark the planned location of the fence with stakes and string, ensuring the layout is level and even.
Lastly, gather all necessary tools and materials. This includes fence panels, posts, concrete, a post-hole digger, a level, and a tape measure. Having everything ready will save time and reduce hassle during installation.
Marking the Fence Line
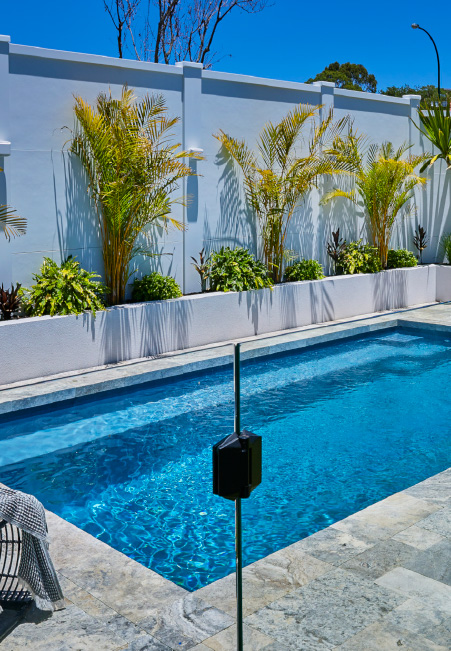
The first step in physically installing your pool safety fence is marking the fence line. Use stakes and string to outline where the fence will go, keeping in mind any local regulations regarding distance from the pool edge. Ensure the layout forms a continuous barrier without gaps that could allow a child to slip through.
Double-check your measurements to ensure accuracy. This step is vital because any mistakes made here will be more challenging to correct later. A well-marked fence line sets the stage for a smooth installation process.
Once you’re satisfied with the layout, mark the spots where the posts will go. These should be evenly spaced according to the manufacturer’s recommendations, typically every 1.5 to 2 metres.
Digging the Post Holes
With your fence line marked, it’s time to dig the post holes. Using a post-hole digger, create holes that are at least 60 cm deep and 20 cm wide. This depth ensures stability, preventing the fence from toppling over.
For an extra layer of security, consider using concrete to set the posts. Pour a small amount of water into the hole before adding dry concrete mix, then insert the post. This method, known as “dry-packing,” allows the concrete to set without the need for mixing in a separate container.
Ensure each post is plumb (perfectly vertical) using a level. This step is crucial for the stability and appearance of your fence. Allow the concrete to cure for at least 24 hours before proceeding to the next step.
Installing the Posts and Panels
Once the posts are securely in place, you can begin attaching the fence panels. Start at one corner and work your way around the pool, ensuring each panel is level and securely fastened. Most panels will come with brackets or screws for easy attachment.
If you’re installing a mesh fence, tension is key. The mesh should be taut to prevent sagging, which can compromise safety. For other materials, ensure each panel is properly aligned with the adjacent ones to form a continuous barrier.
Check for any gaps between the panels and the ground. These should be minimal to prevent small children from crawling underneath. Adjust the panels as needed to maintain a secure and uniform fence line.
Securing the Gate
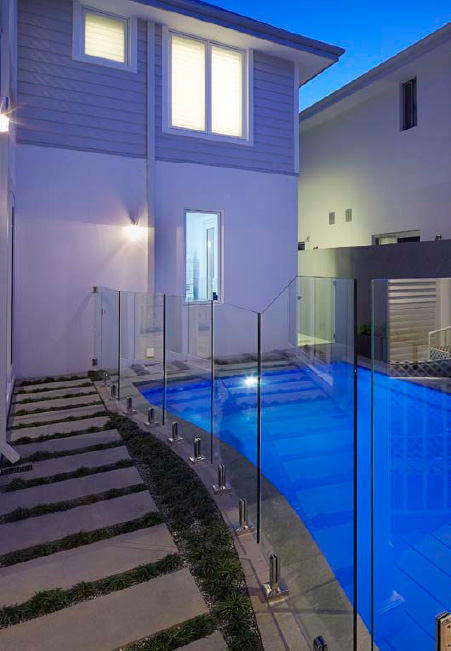
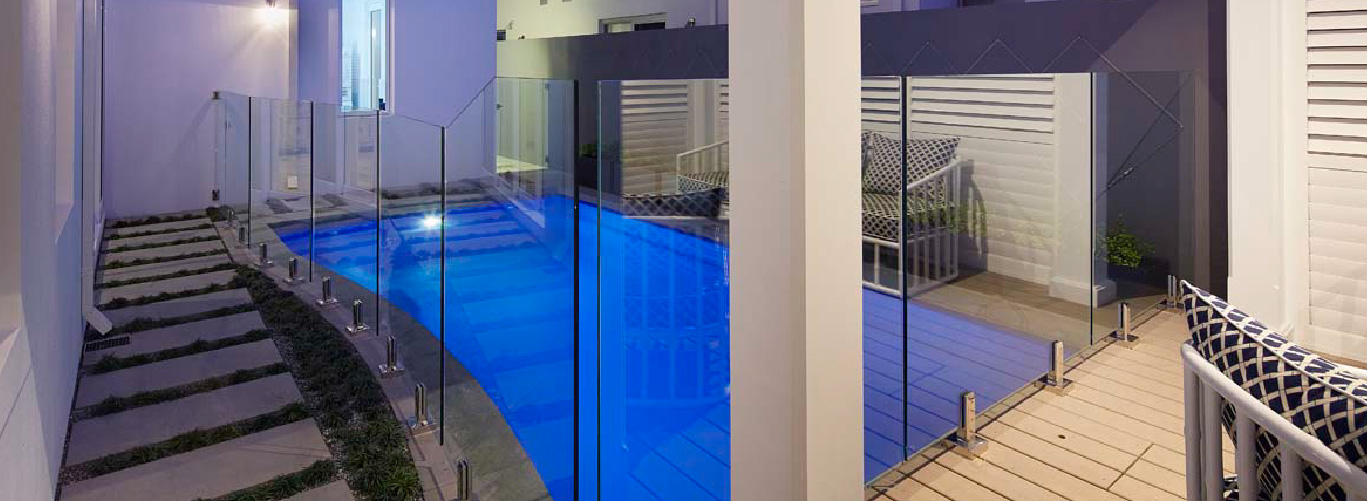
The gate is arguably the most critical component of your pool safety fence. It should be self-closing and self-latching, with the latch positioned high enough to be out of reach of young children. Double-check that the gate swings outward, away from the pool area, to comply with safety standards.
Install the gate according to the manufacturer’s instructions, ensuring it aligns perfectly with the surrounding panels. Test the gate multiple times to confirm it closes and latches automatically after each use.
For added security, consider installing a lockable latch. This provides an extra layer of protection, especially when the pool is not in use. Regularly check the gate’s functionality to ensure it remains in good working order.
Post-Installation Maintenance and Safety Checks
After successfully installing your pool safety fence, ongoing maintenance is essential to ensure long-term safety and durability. Periodically inspect the fence for any signs of wear or damage, such as rust on metal components or tears in mesh panels.
Clean the fence regularly to keep it in good condition. Depending on the material, this might involve wiping down glass panels, repainting metal sections, or tightening loose screws. Keeping the fence well-maintained not only enhances its appearance but also ensures it continues to function effectively.
Conduct routine safety checks to ensure all components are secure. Test the gate frequently to confirm it closes and latches automatically. Address any issues promptly to maintain a safe pool environment.
The Peace of Mind That Comes with a Secure Pool
Installing a pool safety fence is a significant step towards creating a safer environment for your family and friends. By following this guide, you can ensure your pool is not only enjoyable but also secure.
Investing in a high-quality pool fence demonstrates a commitment to safety. It provides peace of mind, knowing you’ve taken proactive measures to prevent accidents. Encourage fellow pool owners to prioritise safety and consider installing a fence if they haven’t already.
How To Install A Pool Safety Fence: A Step-By-Step Guide
Owning a pool can be a dream come true, but ensuring its safety is a top priority. For many pool owners, installing a pool safety fence is a crucial step to preventing accidents and providing peace of mind. A well-designed safety fence can prevent children and pets from accidental falls into the pool, ensuring that the swimming area remains a fun and safe environment. If you're considering adding a safety fence to your pool area, this guide will walk you through everything you need to know, from choosing the right materials and design to installation tips and maintenance advice. By taking these steps, you can enjoy your pool with confidence, knowing it is safely secured for everyone to enjoy.
Overview of Pool Safety Fences
Pool safety fences come in various styles and materials, each offering unique advantages. Common types include mesh, aluminium, glass, and wrought iron. Mesh fences, for example, are popular for their durability and ease of installation, while glass fences provide an unobstructed view of the pool area, enhancing aesthetic appeal.
When selecting a fence, consider factors such as height, material, durability, and ease of maintenance. The goal is to choose a fence that not only meets safety standards but also complements your pool’s design.
Choosing the Right Fence for Your Pool
Selecting the right fence involves more than just picking a style you like. It’s essential to consider local regulations, which often specify minimum height requirements and gate specifications to ensure maximum safety. Additionally, think about the ease of use, especially if you’ll need to remove the fence for any reason.
Consulting with a professional can be beneficial, as they can recommend options that suit your pool’s layout and your safety needs. Remember, the best fence is one that seamlessly integrates into your pool area while providing robust protection.
Pre-Installation Preparation
Before you start digging, there are several preparatory steps to ensure a smooth installation process. Begin by checking local building codes and regulations. Some areas may require permits for pool fence installation, so it’s crucial to be informed beforehand.
After confirming legal requirements, measure the perimeter of your pool to determine the amount of fencing material needed. Mark the planned location of the fence with stakes and string, ensuring the layout is level and even.
Lastly, gather all necessary tools and materials. This includes fence panels, posts, concrete, a post-hole digger, a level, and a tape measure. Having everything ready will save time and reduce hassle during installation.
Marking the Fence Line
The first step in physically installing your pool safety fence is marking the fence line. Use stakes and string to outline where the fence will go, keeping in mind any local regulations regarding distance from the pool edge. Ensure the layout forms a continuous barrier without gaps that could allow a child to slip through.
Double-check your measurements to ensure accuracy. This step is vital because any mistakes made here will be more challenging to correct later. A well-marked fence line sets the stage for a smooth installation process.
Once you’re satisfied with the layout, mark the spots where the posts will go. These should be evenly spaced according to the manufacturer’s recommendations, typically every 1.5 to 2 metres.
Digging the Post Holes
With your fence line marked, it’s time to dig the post holes. Using a post-hole digger, create holes that are at least 60 cm deep and 20 cm wide. This depth ensures stability, preventing the fence from toppling over.
For an extra layer of security, consider using concrete to set the posts. Pour a small amount of water into the hole before adding dry concrete mix, then insert the post. This method, known as “dry-packing,” allows the concrete to set without the need for mixing in a separate container.
Ensure each post is plumb (perfectly vertical) using a level. This step is crucial for the stability and appearance of your fence. Allow the concrete to cure for at least 24 hours before proceeding to the next step.
Installing the Posts and Panels
Once the posts are securely in place, you can begin attaching the fence panels. Start at one corner and work your way around the pool, ensuring each panel is level and securely fastened. Most panels will come with brackets or screws for easy attachment.
If you’re installing a mesh fence, tension is key. The mesh should be taut to prevent sagging, which can compromise safety. For other materials, ensure each panel is properly aligned with the adjacent ones to form a continuous barrier.
Check for any gaps between the panels and the ground. These should be minimal to prevent small children from crawling underneath. Adjust the panels as needed to maintain a secure and uniform fence line.
Securing the Gate
The gate is arguably the most critical component of your pool safety fence. It should be self-closing and self-latching, with the latch positioned high enough to be out of reach of young children. Double-check that the gate swings outward, away from the pool area, to comply with safety standards.
Install the gate according to the manufacturer’s instructions, ensuring it aligns perfectly with the surrounding panels. Test the gate multiple times to confirm it closes and latches automatically after each use.
For added security, consider installing a lockable latch. This provides an extra layer of protection, especially when the pool is not in use. Regularly check the gate’s functionality to ensure it remains in good working order.
Post-Installation Maintenance and Safety Checks
After successfully installing your pool safety fence, ongoing maintenance is essential to ensure long-term safety and durability. Periodically inspect the fence for any signs of wear or damage, such as rust on metal components or tears in mesh panels.
Clean the fence regularly to keep it in good condition. Depending on the material, this might involve wiping down glass panels, repainting metal sections, or tightening loose screws. Keeping the fence well-maintained not only enhances its appearance but also ensures it continues to function effectively.
Conduct routine safety checks to ensure all components are secure. Test the gate frequently to confirm it closes and latches automatically. Address any issues promptly to maintain a safe pool environment.
The Peace of Mind That Comes with a Secure Pool
Installing a pool safety fence is a significant step towards creating a safer environment for your family and friends. By following this guide, you can ensure your pool is not only enjoyable but also secure.
Investing in a high-quality pool fence demonstrates a commitment to safety. It provides peace of mind, knowing you’ve taken proactive measures to prevent accidents. Encourage fellow pool owners to prioritise safety and consider installing a fence if they haven’t already.


